How to Smoke Meat for Beginners: Uncommon Expert Tips!
Well howdy folks! Are you ready to become a real deal backyard pitmaster?
After years of trying, failing, learning, and now becoming an expert; I’m thrilled to get you started on your smoked meat journey – it’s tasty, fun, and sure to impress your friends and family.
Trust me, once you learn how to smoke meat at home, you’ll be hooked for life!
Once I was conducting a tutorial session for some learners, one raised a very valid question: “How to smoke meat without a smoker?” The answer which I gave there is mentioned in this blog as well. Keep reading!
In this handy guide for newbies with first time smoking meats, you’ll learn everything from meat selection to running your smoker like a pro. I will cover the juicy details on rubs, marinades, target temperatures – all the nitty gritty that turns good smoked meat into GREAT smoked meat.
Get ready to drool folks, because we’re diving into the wonderful world of smoking brisket, pork, chicken, turkey, beef ribs, salmon…if it’s got meat on its bones, we can smoke it! I’ll share plenty of tips to help you avoid rookie mistakes and troubleshoot problems if they pop up.
By the end of this guide, you’ll be a certified smoke master! So let’s fire up those smokers and start cookin’ up some ridiculously delicious smoked meat.
Oh, and don’t forget the best bbq knives – I have got some recommendations to take your meat slices to the next level. Now let’s get smokin’!
Which is the best Meat to Smoke?
When it comes to smoking meat for beginners, you’ve got lots of delicious options to choose from! But starting out, you’ll want to go with cuts that are more forgiving and easy to master.
In my experience, brisket and beef shoulders (chuck) are classic choices for a reason.
Let’s start with brisket – beef brisket specifically. Nothing says smoked meat like a perfectly cooked brisket with that melt-in-your-mouth texture. Tri-tip is another beefy option that’s ready faster than brisket.
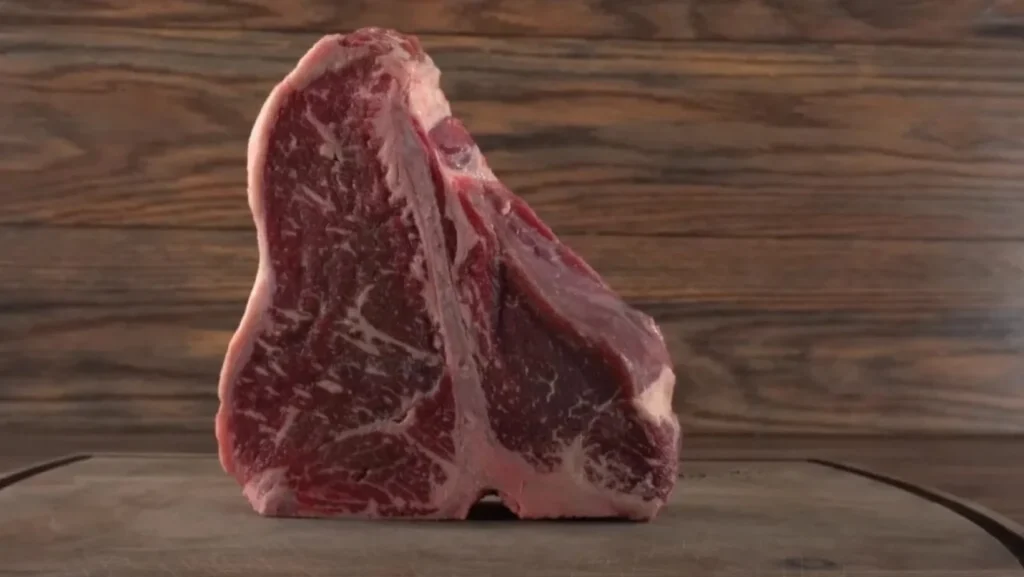
Now onto my favorite meat to smoke – Chuck! Beef shoulders are primo for smoking and make the best pulled meat ever. Get yourself a bone-in shoulder. The bone adds flavor and helps the meat stay moist. Ribs are another obvious choice – go with baby back ribs which cook faster.
Chicken and turkey also take well to smoking. For poultry, you need to brine first to keep it juicy. Whole chickens, turkey breasts, or legs and thighs work great.
Oh and let’s not forget about sausages! Smoked kielbasa, chorizo, brats – all fantastic.
Pro tip#1
For beginners, I recommend starting with a beef brisket, shoulder, or chicken thighs on an electric smoker. They’re cheap cuts that are hard to mess up, and an electric smoker is comparatively easier than charcoal grill to take an initiative. Once you’ve got those mastered, branch out into more exotic meats like venison, duck, or turkey! The possibilities are endless if you’ve got a good smoker and time. Now get to the store and grab something meaty to smoke up this weekend!
For crucial things to remember when meat smoking, you need to learn the best meat to smoke in detail here.
Choosing right cuts of meat
When it comes to smoking meat, you gotta pick the right cuts!
Now, tender and lean may sound good for a steak, but for smoking you want the exact opposite. I’m talking tough, fatty cuts that can stand up to hours of perfect, low-and-slow smoking.
See, those tough cuts come from hard-working muscles, which means more flavor! And the fat marbling is crucial – that’s what bastes the meat from the inside and keeps it ridiculously moist. Don’t be afraid of a little fat!
For beef, I go with brisket or chuck roast, ideally with nice white fat marbling throughout. I’d advise you to go for the untrimmed brisket point or the chuck shoulder clod. Mmm mmm, those chunks of fat melt into the meat during the long smoke. Beef ribs are another winner – nice and fatty with that classic beefy flavor.
The key is finding a balance between fat and muscle. Too much fat can lead to greasy, off-putting meat. But you need enough melting fat to keep things juicy and impart smoky flavor into the meat. When in doubt, leave extra fat on there – you can always trim after smoking.
Your taste buds will thank you when you bite into tender, smoky meat basted in its own loving fat. Yummilicious, now that’s some good eatin’!
Choosing the right amount of Meat
If you are smoking meat for a crowd, it’s easy to overdo it on the quantities!
You have to plan ahead so you don’t end up with a fridge full of leftovers. Let Anne be your guide on portions for smoked meat perfection.

A good rule of thumb is to estimate 1/3 to 1/2 pound of uncooked meat per person. But of course, that depends on how hungry your crowd is! Bigger eaters may need closer to 1 pound each. It also varies by the type of meat – shoulders and brisket shrink less than ribs or chicken.
For a small gathering of 4-6 folks, I’d recommend a 6-8 pound brisket, 3-4 racks of ribs, or 8-12 chicken quarters. That’ll give you plenty of meat with a lil extra for sandwiches the next day.
For a big group of 10-15 hearty eaters, go for 15-20 pounds of brisket or pulled beef, 8-10 racks of ribs, or 20-25 chicken thighs. No need to stress about exact amounts – better to have leftovers than run out of grub!
Pro tip#2
Just remember, the meat will shrink during smoking, sometimes by up to 30% for shoulders and brisket. So make sure to factor that in. And don’t be afraid to offer side dishes to fill folks up while the main meat finishes smoking.
If you’re new to smoking, start small with just 2-3 pounds of meat till you get to know how to smoke like a pro. Then you can graduate to smoking for the whole neighborhood! The main thing is good company and delicious smoked meat – no matter how big or small the portions.
Equipment Needed to Smoke Meat
So now, time to talk gear!
BBQ smoking for beginners, I must say; A flavorsome smoker is the cornerstone, but you will need some other essentials too. Let me walk you through the gear that takes your smoked meat from good to GREAT.
First up – the smoker itself! You’ve got options: charcoal smoker, electric smoker, gas/propane smoker, or pellet smoker.
Charcoal smokers are classic – getting that real wood fire flavor requires some technique. A few best electric smokers heat up quickly and hold temperature like a dream. Propane smokers give you convection cooking power. And pellets feed wood pellets straight to a heating element – high tech!
Each has pros and cons. Charcoal takes time but imparts wonderful smoky flavor. Electric maintains precision temperature control. Gas cranks up the heat for faster cooking. And pellet combines wood flavor with set-it-and-forget-it ease. Choose what fits your skills!
Now, for features – look for good insulation and airflow. You want vents that adjust heat and smoke plus durable construction is a must. And enough capacity for your needs – bigger cookers allow for higher volumes.
Beyond the smoker, here are the essentials:
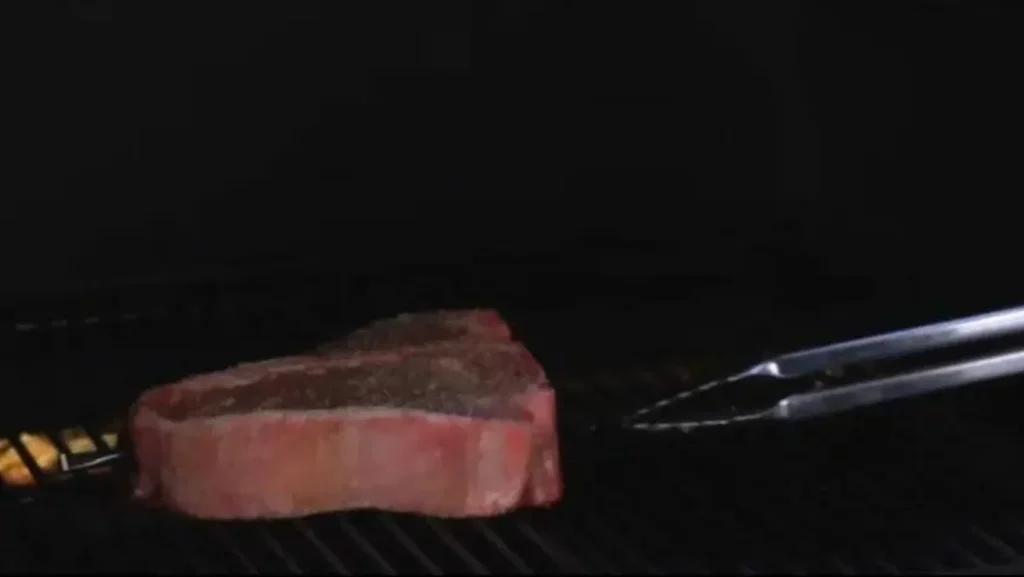
– A good thermometer for monitoring meat temp. Dual probe remote thermometers are ideal.
– High quality food prep gloves for handling hot meat safely.
– Sturdy tongs, racks, foil pans for cooking multiple items.
– A spray bottle for spritzing meat with apple juice or other liquids during smoking.
– Variety of wood chips – hickory, apple, cherry, etc. Skip the pre-soaked chips.
– Grill water pan gives the best flavor if you have a charcoal grill.
– Handy accessories like rib racks, jerky screens, and water pan smoker which help regulate temperature.
No need to buy everything at once! Start with the basics like knives, a thermometer and gloves, then build up your arsenal over time. Look for high heat resistant tools made to last.
Our expert’s recommendations (which I promised earlier):
Pro tip#3
Managing airflow and vents takes practice – be prepared for some temperature fluctuations at first. Play with vent openings and fuel amounts till you get it dialed in. Perfect control comes with experience!
Prepping the Meat
Alright folks, we’re getting close to go time! Now we need to prepare meat for maximum flavor and tenderness.
First and foremost, trim off any ugly or hardened bits of fat and that rubbery silver skin on the meat. Leave behind a nice layer of soft white fat though – it bastes the meat from the inside!
Next, season that meat however you fancy. For brisket, a good dry rub adds tons of flavor. Mix up pepper, salt, paprika, garlic, and brown sugar to taste. Really massage it into the meat.
If ribs or chicken are on the menu, go for a tasty wet marinade. Soy sauce, vinegar, lemon, and spices marinate the meat and keep it juicy. Brining is also an option – it helps season and retain moisture.
You can apply rubs or marinades the night before for maximum flavor infusion. But if you’re in a rush, seasoning right before smoking works too. Just don’t skip this step!
Once seasoned up, let those meats rest at room temp for at least 30 minutes before smoking. This helps them cook more evenly later. The hot smoke wants to meet meat that’s ready and waiting!
That’s all it takes to get your meat ready for smoking glory. Take your time prepping and seasoning – don’t rush this part! Proper prep ensures you’ll be rewarded with succulent, flavorful meat at the finish line. Then it’s pigging out time!
Pro tip#4:
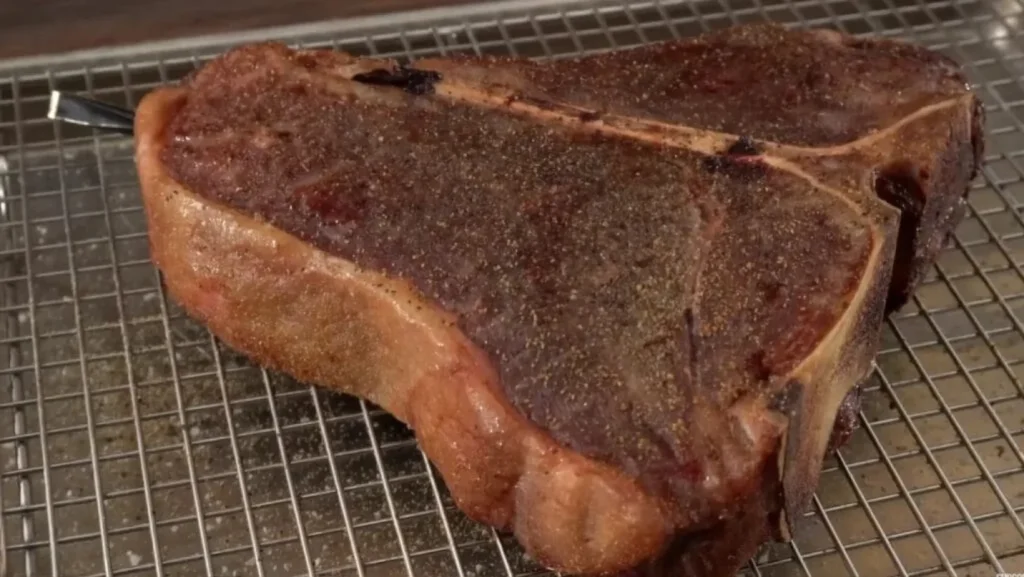
Alright my friends, listen up – you’ll want to bring that beautiful cut of meat up to room temperature before tossing it in the smoker. Otherwise, that sudden blast of heat will shock the poor thing! For beef, go ahead and give it a nice rubdown with your favorite spices once it’s had time to warm up. Chicken that’s been bathing in marinade for a while should also get to relax on the counter before smoking. Trust me, taking this extra step will pay off in tender, juicy results! So grab your favorite beverage, kick back, and let that meat warm up while you enjoy the calm before the smoke. Your patience will absolutely be rewarded!
Now prep your smoker racks. Use foil pans underneath to catch fat drippings – it prevents grease fires.
Place meat directly on the racks, leaving some space around each piece. You want good airflow between them while cooking.
Arrange meat accordingly – brisket flat towards the heat source. Delicate items like fish and sausages on the top racks. Place similar cuts together for even cooking.
Resist opening the smoker too early to peek and rearrange meat! Every time you open it, heat and smoke escapes. Follow the prep steps, then let that baby do its thing.
Wood selection: How to smoke meat with Wood?
Well butter my brisket and call me Smokey!
When it comes to real deal smoked flavor, your choice of wood makes all the difference, friends. Wood type imparts subtle (but mouthwatering) nuances to your meat. So let’s walk through what woods to use and how to smoke with them proper-like.
Your classic smoke woods are hickory, pecan, oak, apple, cherry, and mesquite. Hickory has a strong, bacon-y flavor that’s perfect for beef. Pecan is milder and adds a nutty sweetness. Oak is in the middle of the road – great all-purpose wood.
Fruity woods like apple and cherry bring a tangy kick and work nicely with poultry or fish. And mesquite gives an intense earthy flavor best used sparingly or in combo with other woods.
Chunks, Chips, Pellets?
Now, you can buy wood in chunks, chips, or pellets. For beginners, chips are easiest – just soak, then sprinkle over the coals or heating element.
Chunks are hands-off but require practice regulating temperature.
And pellets feed automatically into a smoker box.
How to Get the Perfect Smoke?
How you use wood matters too. A quick, hot smoke infuses a subtle hint of flavor. Low and slow gives you a richer, smokier taste. And cold smoking is all about that cured smokehouse flavor.
Always start with a clean smoke to let the meat flavors develop. After the first 1-2 hours, add more wood for a stronger smoke flavor.
Pro tip #5
I suggest combo’ing woods – like hickory with cherry or oak with pecan. Layer the flavors! Don’t be afraid to experiment with woods – the combinations are endless! Find what suits your preferences. Just avoid resinous woods like pine or spruce which can give a bitter taste. Most importantly, use premium food grade wood – never burn treated lumber or pallet wood. Always source cooking woods from a reputable supplier. Safety first with smoke!
Alright, now you’ve got the wood smarts to smoke like a pro. Grab your favorite meats, quality wood, and get that smoker rollin’! Remember, half the fun is finding your own delicious wood combinations. So put on your pitmaster hat and let’s get smokin’!
Smoking Process: How to Smoke Meat for Beginners?
Finally, time to fire up this bad boy!
You should know that the smoking process takes patience, but follow my tips and you’ll be biting into sweet smoked meat in no time.
First thing first, ignite your smoker as needed and get it up to temp – usually 225-250 degrees for low ‘n slow smoking. Carefully regulate those vents to hit your target temp. Start closing them down once lit to control airflow.
Next up, wood chips!
Soak your chips in water for 30 mins then sprinkle them over the coals or heat source. Replenish chips every hour or so for consistent smoke. If using chunks, just set them over the coals once lit.
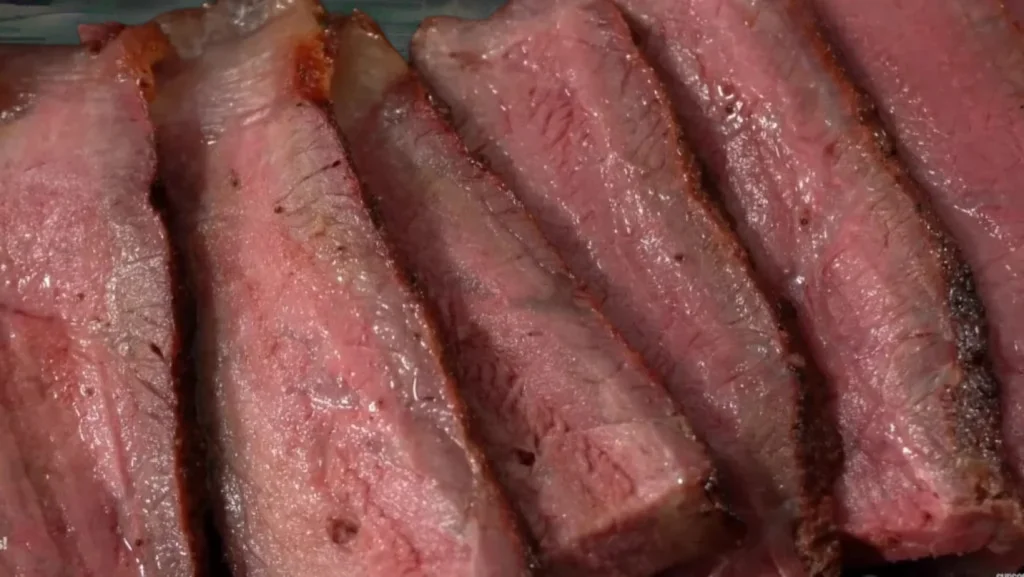
You’ll know the meat is properly smoking when you see a pink smoke ring forming just under the surface bark. That outer crust should get nice and dark. And the texture will go from tough to tender and juicy. Perfection!
How long does it take to Smoke Meat?
Smoking times vary by size and cut of meat. Follow these estimates:
- Brisket/beef shoulders: 1-1.5 hours per pound
- Whole chicken: 4-6 hours
- Ribs: 5 hours or less
* Use a meat thermometer to monitor internal temp.
Don’t rely on time alone – cook by temperature for accuracy:
- Beef shoulders: 195-205°F
- Brisket: 190-205°F
- Ribs: 175-195°F
- Chicken: 165°F
* Let the thermometer be your guide for perfect doneness!
If meat starts drying out, lightly spritz it with apple juice. Don’t fuss with opening the smoker too much. Keep a water pan inside to help retain moisture.
Once cooked, gently remove the meat and let it rest tented in foil for at least 30 mins. This helps retain all the juices and allows flavors to redistribute. Slice brisket across the grain and serve with sauce on the side.
Perfectly smoked meat should have a dark, crusty bark on the outside and juicy, tender interior. Those flavors from the wood chips and smoke should come through beautifully.
Patience and practice make perfect with smoking! It may take a few tries to get it just right. Vary wood types and cook times till you dial in what you like best. But the results are so worth it – enjoy!
Should You Flip Meat When Smoking?
Should you flip the meat or not while smoking?
It’s a question that’s plagued backyard pitmasters for generations! Opinion is divided on this topic here. So let me break it down for you once and for all.
Generally, flipping is not needed for your larger smoked meats like brisket, shoulder, or turkey. The key is keeping a consistent low temperature and letting the smoke work its magic undisturbed. Those cuts will cook evenly without flipping or fussing. The cooler side will gradually warm up on its own time.
However, thinner meats like ribs, chicken pieces, steaks, chops, and the like DO benefit from an occasional flip. Once or twice mid-smoke helps prevent the hot side from drying out before the rest is cooked through. Just be quick and careful not to lose too much heat when you open up.
Now for sausage, vegetables, and other cured items, you need to rotate and flip occasionally for even color and texture. Can’t have some pale sausages while the rest get browned!
So in summary – big cuts like brisket and beef shoulder are set and forget it. But flip smaller or quicker cooking meats once halfway through smoking. Use those tongs for a quick flip and then close it back up to keep smoking away.
How to Smoke Meat for Preservation?
Smoking not only adds incredible flavor, it helps keep meat fresh for months when done right. The key is slowly cooking and drying the meat at a low temperature with plenty of clean smoke.
For long-term preservation, you want ‘cold smoking’ without actually cooking the meat. Keep temps under 100°F and smoke times long – like 12+ hours. This infuses flavor and dries out the surface while keeping the inside raw.
Cold smoke more delicate items like fish or jerky. Use cured cuts of ham, or sausage so they’re safe when raw inside. And rotate the meat for even exposure. Patience pays off!
For this purpose, I use a dedicated cold smoker box and add hardwood sawdust or dust in it for thin cold smoke. I resist peeking! And you should also!
Once smoked, meat needs to be properly sealed up. For whole muscle cuts like hams or brisket, wrap in butcher paper then seal in vaccum bags. Jerky and small goods do great jarred up with a touch of oil.
Keep it chilled at 38°F for maximum shelf life. Consuming within 3 weeks is best, but smoked meat can often last 3+ months!
Pro tip#6
Follow strict sanitation and only use fresh, uncured cuts for cold smoking. Botulism and other nasties can grow if not handled safely. Safety first!
Serving Hot Smoked Meat
WE ARE HERE!
The moment we’ve been waiting for – time to eat!
Once that smoked meat is perfectly cooked, here’s how to serve it up right:
- Let meat rest after smoking so juices are reabsorbed
- Then slice, pull, or shred meat as needed
- Brisket – slice thin across the grain for tenderness
- Beef shoulders – pull or chop into mouth watering pulled beef
- Ribs – carefully cut ribs apart
- Sausages – slice on the bias
- Get creative with leftovers! store and freeze for sandwiches, snacks, etc. Pulled beef works great in nachos, tacos, pizza, etc. Dice up brisket for soups or hash.
* Most important: enjoy the fruits of your smoking labor fresh and hot!
Now we need some fixin’s to go with this feast!
Creamy coleslaw or potato salad balance out the richness. Baked beans or collard greens for tradition. Grilled corn, sweet peppers or roasted veggies add color. Don’t forget the biscuits and cornbread too! (This is what I prefer the most).
The beverage choices are also key. Iced tea or lemonade to cut through the smoke. I always offer a selection to please all tastes in gatherings!
Finally, how about some sauces to take that meat over the top?
Sweet and tangy barbecue sauce always pleases a crowd. In my BBQ experience what I have observed is, spicy chipotle sauce wakes up the palate of the crowd. A savory brisket gravy for sopping with biscuits is always an extra compliment. The options are endless, so sauce it up!
Good friends, good drinks and delicious smoked meat enjoyed together – that’s what it’s really all about.
Troubleshooting: Common Problems
Uh oh, got some issues popping up? Not to worry, I am here to help troubleshoot whatever smoking snafus come your way!
If you’ve got uneven cooking, the likely culprit is inconsistent temperature. Make sure your vents are properly regulating airflow and heat. Rotate meat racks halfway through if needed. Keep monitoring that temp!
Temperature fluctuations letting you down? Ensure your smoker is properly insulated – add gaskets or seal cracks if needed. Be patient regulating vents at the start. Add more fuel gradually to maintain heat, don’t overload it.
Got Some Funky flavor instead of Good Smoke?
A few potential reasons here:
- You’re using the wrong wood
- The wood is wet or moldy
- The meat wasn’t clean before smoking
* Try a mild fruit wood and ensure your chips are dry and fresh.
Now, on to drying out. The best prevention is wrapping or spritzing midway through smoking. Foil wrap or butcher paper helps moisture get trapped. An apple juice spritz adds sweetness. Use a water pan too.
Pro tip# 7
Don’t over smoke at the end when food’s mostly cooked.If you hit temperature trouble or (gasp!) a grease fire flares up, don’t panic! Carefully remove food if needed and adjust the vents to gain back control. Close vents to snuff out flames or use baking soda. Then reignite and resume smoking.
See, no smoking mishap is too big to overcome! With some troubleshooting adjustments you’ll get fantastic results. It just takes patience and practice using your smoker.
Wrapping up: Clearing the table!
Well folks, we’ve come to the end of this tasty smoked meat journey – though I hope it’s just the beginning of your own backyard barbecue adventures!
I have covered all the smoking basics of how to smoke meat for beginners, from choosing quality cuts to prepping your meat just right. We together fired up smokers from charcoal to electric and got that temperature dialed in. Rubbed and seasoned up a storm, then sat back and let the smoke work its magic. Had us some troubleshooting fun along the way too!
The benefits of smoking are endless. You control every step, you customize flavors, and you reap ridiculously delicious rewards. Plus the joy of enjoying tender smoked meat with loved ones – priceless!
Hopefully now you all are equipped with the know-how to start smoking up a storm. Refer back to those essential equipment and pro tips anytime a question pops up. And don’t be afraid to experiment till you get your techniques just how you like them.
The smoking world is your oyster now! Do Anne proud and go make some incredible brisket, ribs, pulled beef and anything else you can dream up. Share the love with family and friends. But most importantly, savor the process and those finger-lickin’ results.
I’m signing off for now, but remember I’m always here if you need a smoke-master pep talk! Just keep practicing and you’ll be an all-star backyard pitmaster in no time. Godspeed and happy smoking, friends! Now who’s ready for a barbecue??
Frequently Asked Questions!
Is Smoking Meat Bad for you?
Answer: Smoked meat in moderation as part of a vegetable-rich diet is perfectly healthy for most people. Focus on leaner meats, minimal charring, fresh herbs/spices over salt, and eating sensible portions. Correct smoking and handling techniques plus common sense consumption make enjoying smoked meat completely safe.
Does Smoking Meat Cause Cancer?
Answer: Moderate intake of properly smoked meats as part of a balanced diet does not significantly increase cancer risk in most healthy adults. Choosing leaner cuts, minimizing charring, and using lower-sodium rubs and sauces makes enjoying smoked meats even safer. More research is still needed on the cancer risk of specific compounds in smoked meats. Talk to your doctor about any diet concerns.
How to Smoke Without a Smoker?
Answer: Here are some tips for smoking without a traditional smoker:
- Use a grill – To smoke on a gas or charcoal grill, create an indirect heating zone by only lighting one side of the grill. Add soaked wood chips to the lit side to generate smoke. Place the meat on the unlit side and close the lid to trap smoke. Add more chips periodically to maintain smoke.
- In Oven smoke – Place a pan filled with soaked wood chips on the bottom oven rack. Put the meat on the top rack in a roasting pan. Keep the oven temperature low, under 275°F. Top up the wood chips every 30-45 mins.
Our Experts’ Smoking Meat Recipes
From rubbed and marinated masterpieces to lip-smackin’ sauces, our team of backyard barbecue experts put together a selection of their greatest hits of 5 easy grilling recipes for a crowd just for you.
These aren’t your average backyard barbecue recipes – they’re the greatest hits from lifelong smoking enthusiasts and competitors. Tried, tested and true. We can’t wait for you to fire up your smoker and dig in.
Check out our keto side dishes for bbq.
So set aside some time this weekend to try mouthwatering smoked turkey recipe , smoked corner beef, or smoked leg lamb. Share with your family and friends – if you don’t devour it all yourself first! Let us know which recipes become your go-to favorites. Happy Smoking!

